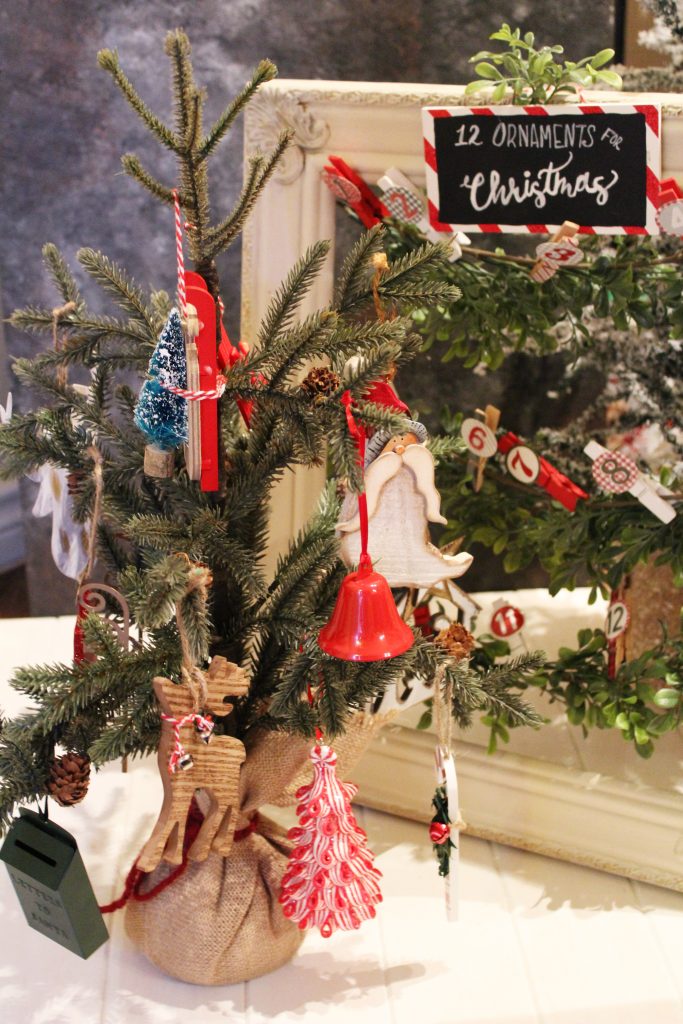
This super cute and quick DIY Christmas decoration is perfect for a bedroom or dorm room. The 12 Ornaments for Christmas can be new ornaments or family heirlooms or a theme. Make it your own.
In my house growing up, my mother put our tree up every year right after Thanksgiving. It was a pretty big deal for me to help put up the tree. We would get out her house village collection and put them up on a table she had set up just for her village. With this 12 Ornaments for Christmas tree for my niece, I’m hoping to instill another Christmas tradition in our family.
Then came the nativity scene. She would put up little scenes all over the house and under the tree. I truly believe I got my love for Christmas and Christmas decorations from my mom. And I hope my niece has gotten the same love for Christmas decorations from us too.
I love decorating my place for the holidays. This year I started before Thanksgiving because I was going to be out of town for three weekends in a row so I felt jilted out of time spent relaxing and enjoying the lights. Am I the only one who likes to turn on the Christmas lights in the dark, drink a beverage and watch Christmas movies? It’s my favorite thing to do!
My niece would always help put up her tree at their house so now that she’s a senior and will be heading off to college, I wanted to make sure that we started a tradition for her to have her own little tree in her room. I was so excited to make this for her that I started it this year.
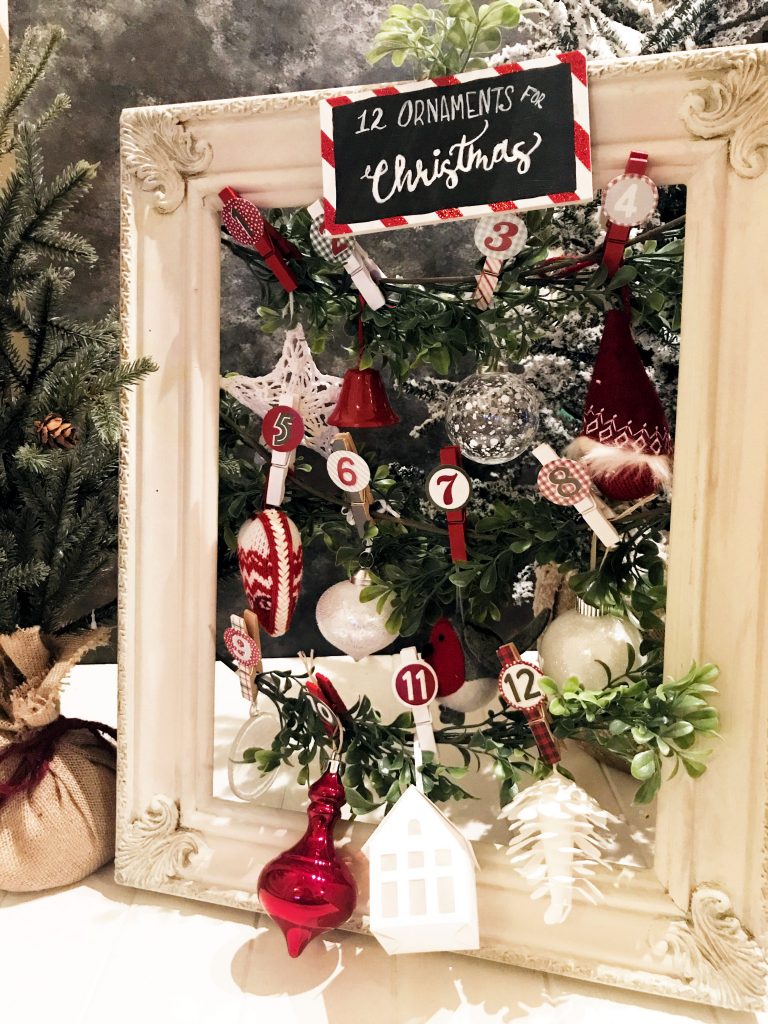
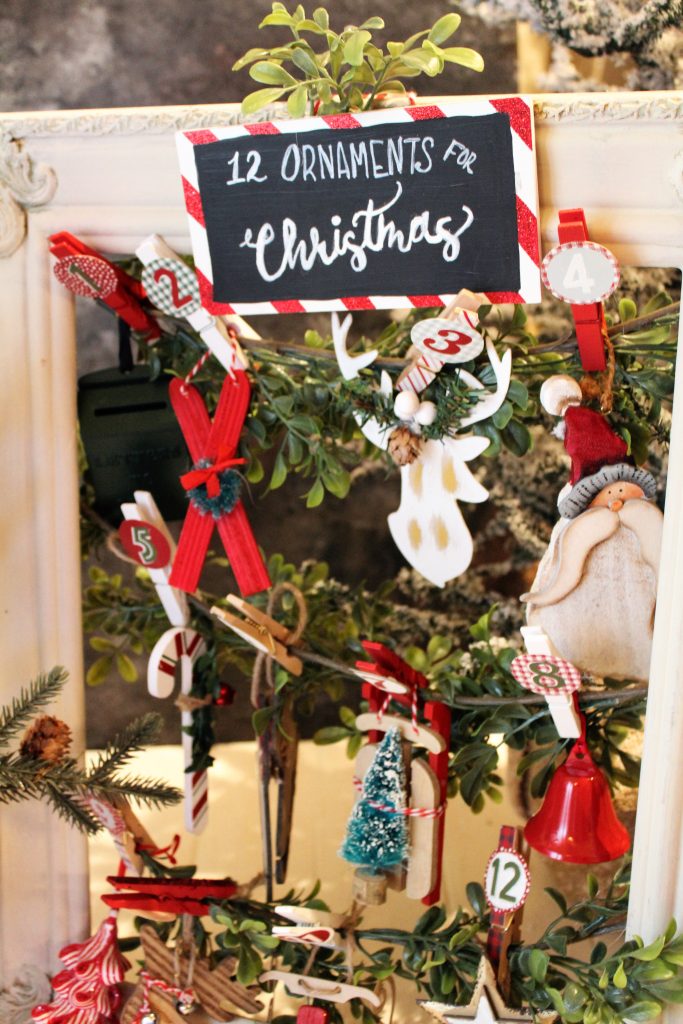
I made a “12 Ornaments for Christmas” frame for her so she can place an ornament a day leading up to Christmas (or Christmas break). And it’s a small enough tree to fit on her desk and the frame can hang on the wall. I had two different sets for her to choose from but she ultimately chose a little from each tree. I love giving this girl memories for years to come!
This is a simple project but it turned out so dang cute! I love it and will probably put one up in my office too.
12 Ornaments for Christmas
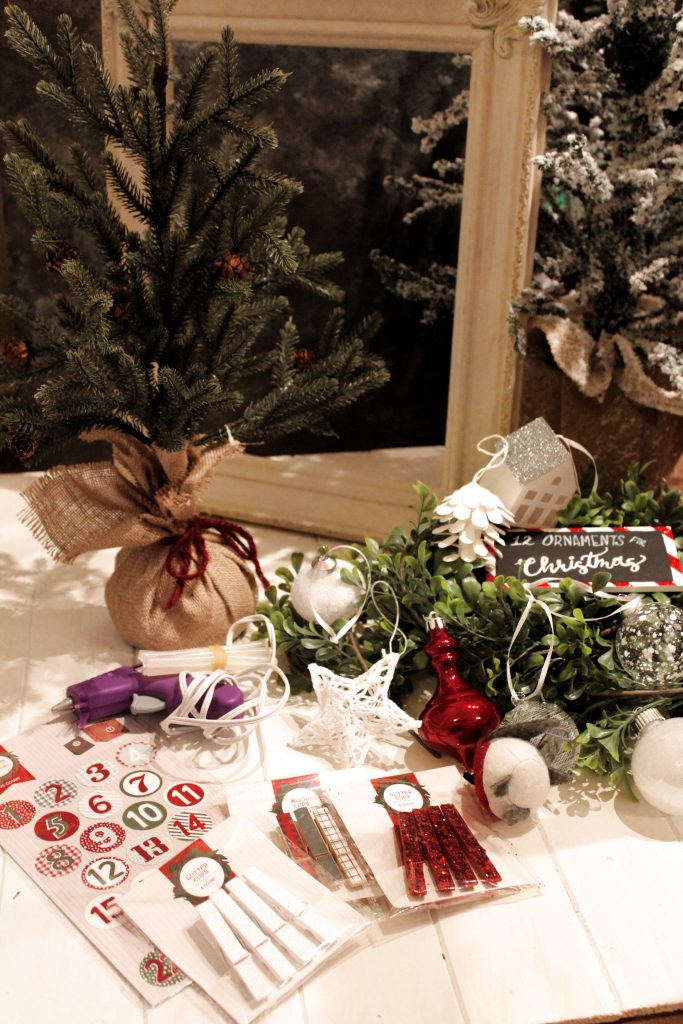
Supplies:
Frame (any square or 11×14 frame should work – I found mine at an antique market)
Small tree (Michael’s)
Garland (Ikea)
Number stickers (Target One Spot)
Colored clothes pins (Target One Spot)
Glue gun and glue sticks (Walmart)
12 ornaments (all ornaments in top frame are from Ikea; 2nd tree ornaments are from Target One Spot and various small stores)
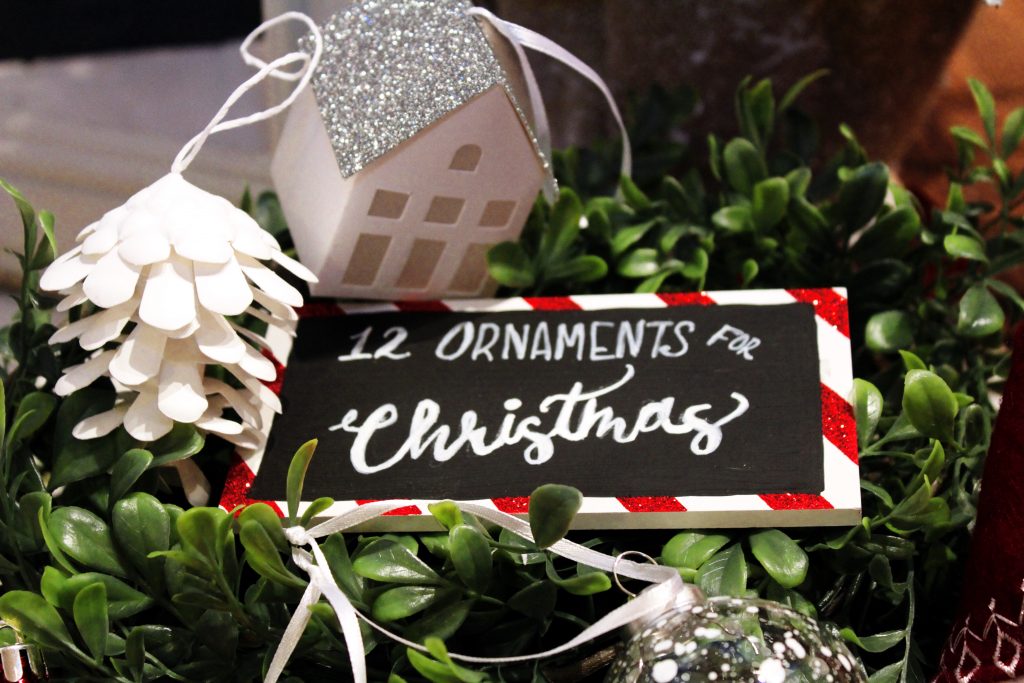
Wooden sign (Michael’s – this was a cocoa sign I painted over the writing)
Black and white paint
Xacto knife
Instructions:
If you purchased the same cocoa sign that I did, you want to go ahead and paint the black part over with black paint to get rid of the writing. I put two coats on then after it had dried I painted the “12 Ornaments for Christmas” over it. (Truth: I wrote it out on a piece of paper then rubbed the back of the paper with chalk then traced the lettering with a pencil on the sign so I had an outline to go by.) Let dry.
With the Xacto knife, cut the garland into lengths long enough to fit the width of your frame with a little give for it to hang a little. Depending on the length and width of your frame, you may have two or three strands.
Using the hot glue gun, glue the garland to the back of the frame and let set.
Meanwhile place the numbered stickers on your clothes pins.
Glue the “12 Ornaments for Christmas” string to the back of the wood frame so it hangs down. Place the Ornaments on the frame with the numbered clothes pins.
To cute up the tree, place the tree in a small tin bucket. (My niece did this with a tin I had used for some gift to her previously and it looked adorable!)





Leave a Reply